Install
Open the disk image you downloaded and drag AEShot Studio to the Applications folder.
Run the installer you downloaded. It installs AEShot Studio for your account, without administrator rights, and adds it to the Start menu.
Choose the package for your Linux under Download on the AEShot Studio page and install it with the command shown there.
If Edge or Windows warns because the installer isn’t code-signed yet, here is what to do.
First launch
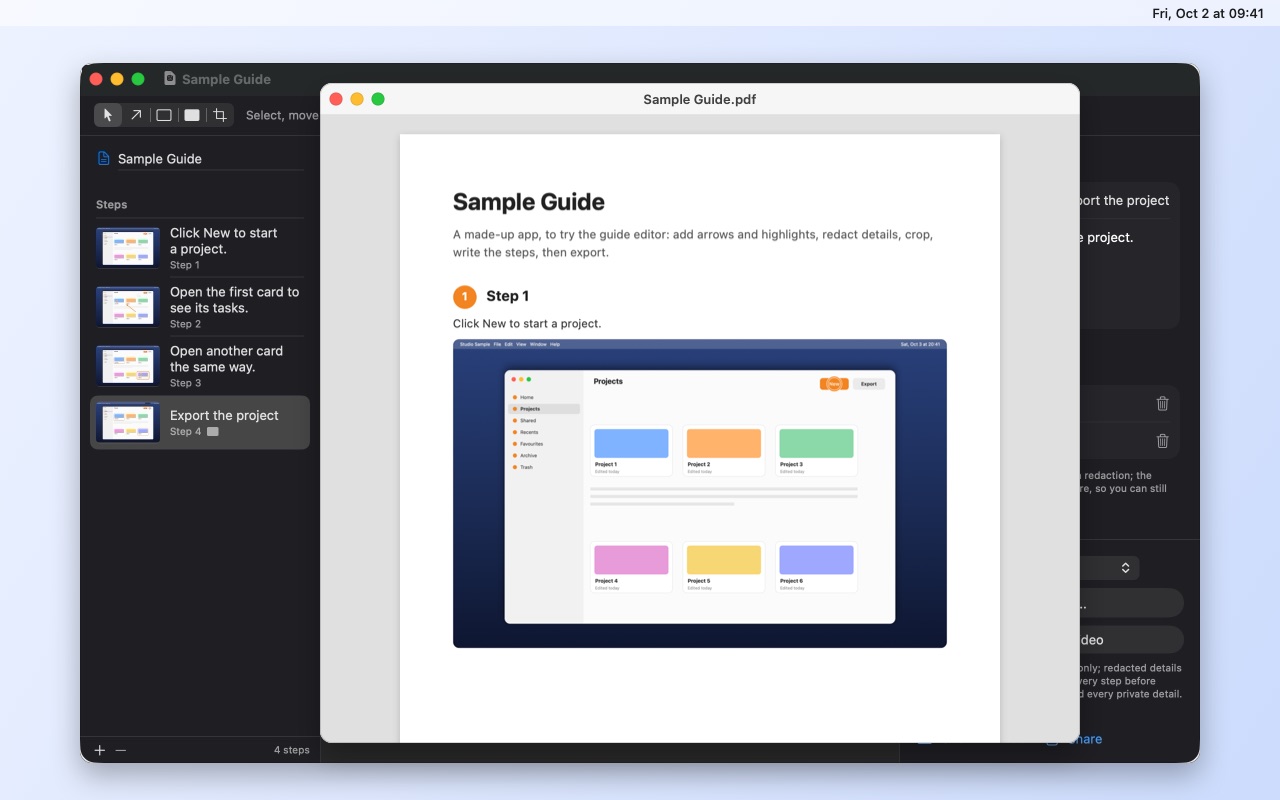
The Welcome Guide opens the first time and asks for the Screen Recording permission. Click Try a Sample to explore a finished project.
The Welcome Guide opens the first time. Click Try a Sample to explore a finished project, or Get Started.
Permissions
AEShot Studio needs Screen Recording; a change there applies after AEShot Studio restarts. The camera, the microphone and Speech Recognition are asked for when you first use them, and Input Monitoring only for typing sounds. Settings › Permissions shows each one.
Recording the screen needs no permission on Windows. Camera and microphone access is set in Windows Settings › Privacy & security; Settings › Privacy in AEShot Studio shows it.
The first time you record, your desktop asks which display or window to share. For automatic zooms, AEShot Studio needs your clicks: add yourself to the input group with sudo usermod -aG input $USER, then sign in again.
Where to find it
AEShot Studio is an app in the Dock with a home window for recording and your projects. While you record, a red timer in the menu bar stops the recording when you click it.
AEShot Studio opens to its home window; Settings, Help and the Welcome Guide are under More. While you record, its icon in the notification area stops the recording when you click it.
AEShot Studio opens to its home window, with a File and a Help menu. While you record, a red icon in the system tray stops the recording.
Updates
AEShot Studio looks for a new version about a minute after it starts, then once a day. When one is out, a window shows what’s new. Click Update: it downloads the update, checks its signature, installs it and opens again, and your settings and projects stay. A critical update reminds you until it’s installed. To look now, choose Check for Updates… in the AEShot Studio menu, under About AEShot Studio, or click Check Now in Settings › General › Updates, which also has Check for updates automatically. AEShot Studio 1.1 gets its next update once through its older update window.
AEShot Studio looks for a new version about a minute after it starts, then every hour. When one is out, a window shows what’s new. Click Update: it downloads the update, checks its signature, installs it and opens again, and your settings and projects stay. A critical update reminds you until it’s installed. To look now, choose Check for Updates… in the … (More) menu, next to About AEShot Studio, or click Check Now in Settings › General › Updates, which also has Check for updates automatically.
On Linux, AEShot Studio looks for a new version about a minute after it starts, then once a day. When one is out, a window shows what’s new. Click Update: it downloads the update, checks its signature, installs it with your system’s package manager (apt, dnf, zypper or pacman) after asking for your password, and opens again; your settings and projects stay. A critical update reminds you until it’s installed. To look now, choose Check for Updates… in the Help menu, or click Check Now in Settings › General › Updates, which also has Check for updates automatically. A copy not installed from the packages on aeshot.com only shows Download. Versions before 1.1.1 can’t do this yet: install the newer package from the AEShot Studio page once.
Installation ID and reviews
Settings › General shows this installation’s Installation ID with Copy, and Write a Review on aeshot.com opens the review page with it filled in. Reviews need Count this installation turned on. How reviews work
You can also write one in the app: choose Write a Review… in the AEShot Studio menu.
You can also write one in the app: choose Write a Review… under More.
You can also write one in the app: choose Help › Write a Review….
Do I need to know video editing?
No. AEShot Studio does the zooms, the cursor and the background on its own. You change only what you want.
How is it different from AEShot Capture?
AEShot Capture is the quick screenshot and recording app, always one shortcut away. AEShot Studio turns screen recordings into finished videos and guides. They are separate apps, both free.
How do I uninstall it?
Quit AEShot Studio and move it from the Applications folder to the Trash. Your projects and exports stay where they are.
Uninstall AEShot Studio from the list of installed apps in Windows Settings.
Remove the package: sudo apt purge aeshot-studio (Debian, Ubuntu), sudo dnf remove aeshot-studio (Fedora), sudo zypper remove aeshot-studio (openSUSE) or sudo pacman -R aeshot-studio (Arch).
Where are my projects and settings?
Projects stay in AEShot Studio on this Mac until you choose a folder in Settings › Storage; exports go to the folder you choose the first time. Settings are in the app’s container, ~/Library/Containers/com.ckyr.AEShotStudio.
Projects are in Videos\AEShot Studio, exports in the folder you choose the first time. Settings are in %APPDATA%\AEShot Studio.
Projects are in ~/Videos/AEShot Studio, exports in ~/Videos. Settings are in ~/.config/AEShot Studio.
What does it need to run?
A Mac with Apple silicon and macOS 14 or later. Recording the microphone needs macOS 15.
Windows 11, 64-bit.
64-bit Linux with ffmpeg, GStreamer with PipeWire, and the desktop portal. KDE Plasma 6 is recommended. Captions need whisper.cpp.
What about my privacy?
Recordings, guides and exports stay on your computer and are never uploaded. The privacy policy has the details.